Create and use icon fonts in a Windows Store App
Are you using PNG icons in your Windows Store application and looking for a way to improve the quality on retina displays? After reading this article, you will know all there is to know about creating a custom Icon Font to use in your Windows Store Application
Windows 8.1 supports a large variety of new hardware, including lot’s of different screen resolutions and maintaining PNGs for smaller and larger displays (think retina support) can be a real pain.
Luckily there is a solution to drastically simplify asset management and where you don’t have to worry about scaling pixels.
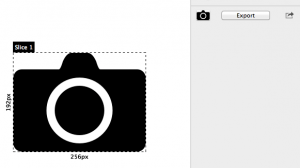
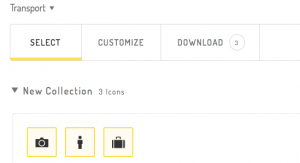
So how does it work?
- Use any vector drawing tool that you like and exports to SVG
- Use the awesome http://fontastic.me to create a TTF font file
- Use the Windows 8.1
FontIcon
to display the icon
OK? Let’s go. I use Sketch (mac-only unfortunately) to create 3 icons.
Draw some icons and export them to SVG
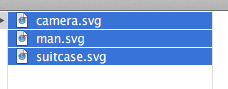
It is not important what program you use. U can also download free existing SVG’s if you want. The result is a folder that contains your icons:
Create the font from the SVG files
- Open http://fontastic.me and create your user account
- Click the plus button to create a new font
- Go to font settings to change the name
- Click ‘import icons‘ and select your SVG files
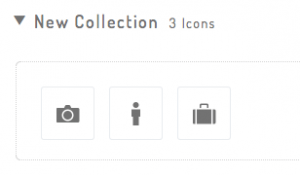
Your icons appear in the new collection:
- Select the icons by clicking on them
- Click the download button and save the zip to a location on your hard drive.
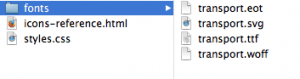
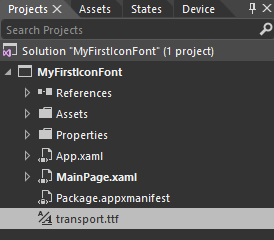
Fontastic provides an awesome zip file with lots of goodies in it. For Windows 8 we will use the TTF file in the fonts folder:
Let’s check if the font file is valid by opening it in Font Book:
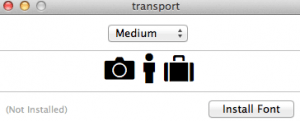
Hurray! It works!
Using the font in a Windows Store App
- Start a blank XAML Windows Store App in Blend:
- Drag the font to the Solution tree and drop it on the Project:
- Add a FontIcon to the Grid in the Objects and Timeline panel:
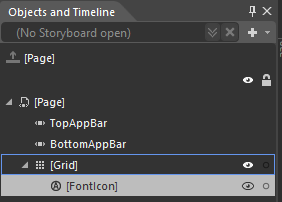
NOTE: if you cannot find the FontIcon in your assets, paste the following XAML in the MainPage.XAML Grid:
<FontIcon />
- Find the font face property and choose our ‘transport’ font
- Change the glyph property to ‘a’
-
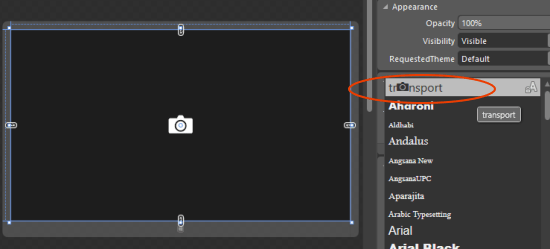
Increase the font size to 96.
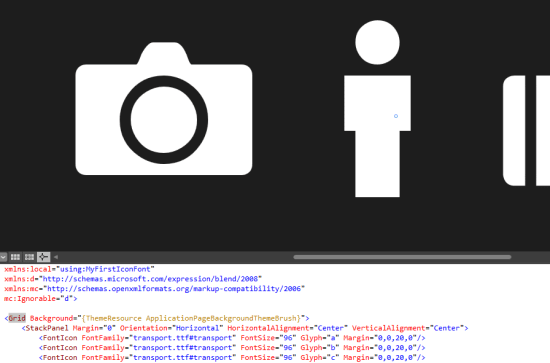
Your XAML should like like this:
<Grid Background="{ThemeResource ApplicationPageBackgroundThemeBrush}">
<FontIcon FontFamily="transport.ttf#transport" FontSize="96" Glyph="a"/>
</Grid>
Conclusion
We now have a font containing our icons. This means we can:
- manage a complete set of icons in 1 file. For different display resolutions!
- change the color of icons without having to use drawing software or ask our designers
- change the size of icons from 0% to 100000000% without losing quality.
Have fun creating your beautiful icon font!